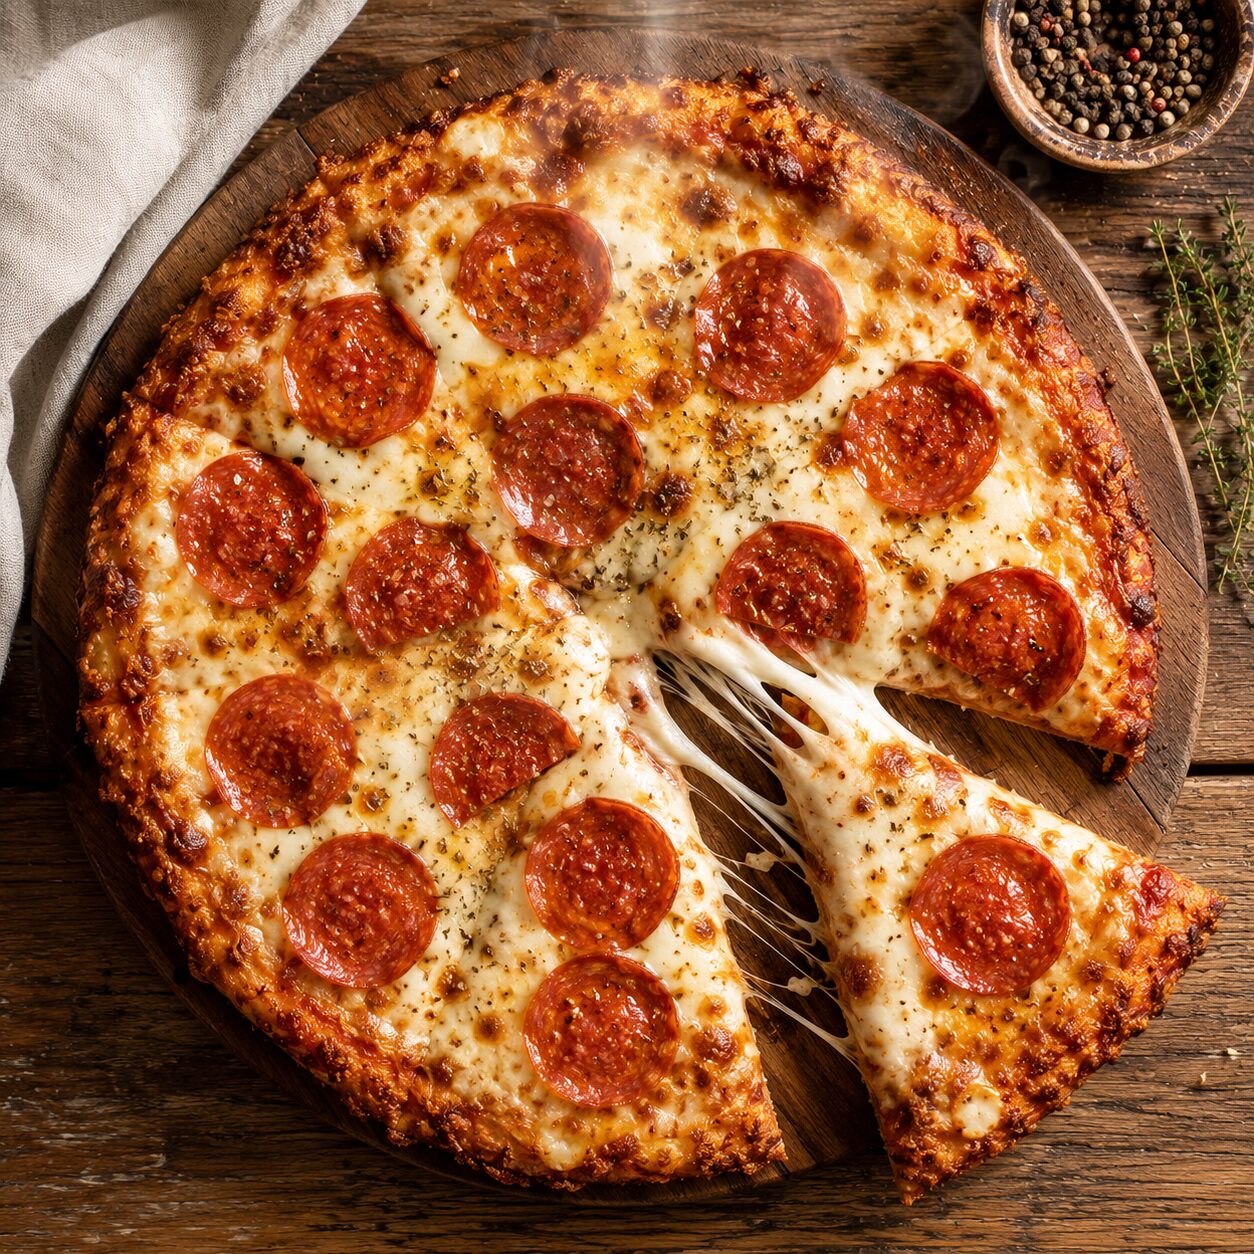
Pizza night doesn’t have to end when you go carnivore. It just has to change shape a little. Carnivore pizza dough swaps flour for melted cheese and egg, and once you understand how that dough actually behaves, it holds toppings, crisps at the edges, and gives you something you can genuinely pick up and eat like a slice — not just fork through like a casserole.
If you’ve already mastered my Carnivore Flatbread, this pizza dough is the next step when you’re looking for a sturdier crust that can handle heavier toppings.
I’ve tested this dough more times than I can count, in a regular oven, on a pizza stone, and in an air fryer, with every mistake you’d expect along the way: soggy centers, crusts that stuck to the pan, edges that burned before the middle set. This guide is the version that came out the other side of all that testing — the ratios, the technique, and the reasoning behind every step, so you’re not repeating the same mistakes I did.
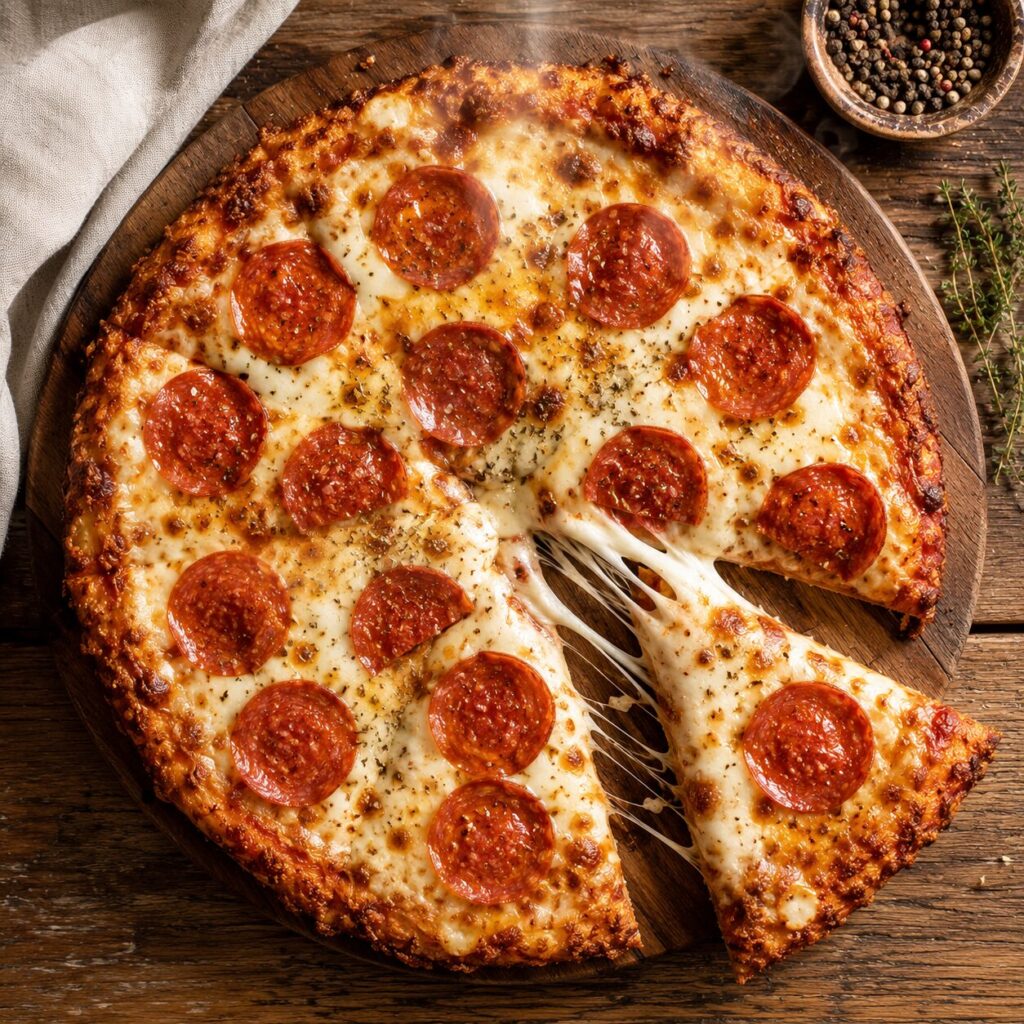
Table of Contents
Carnivore pizza dough is made by melting mozzarella and cream cheese together, binding the mixture with egg, and pre-baking it into a firm crust before adding toppings — a technique that replaces gluten’s structural job with melted cheese protein and egg coagulation instead. The single biggest factor separating a crust you can pick up from one that falls apart is pre-baking it fully before toppings go on, since a soggy center almost always comes from skipping or rushing that step. Get the pre-bake right, and this dough holds up to real toppings, not just a light sprinkle of cheese.
At a Glance
| Metric | Full Pizza (8 Slices) | Per Slice |
|---|---|---|
| Prep Time | 10 minutes | — |
| Pre-Bake Time | 12–15 minutes | — |
| Topped Bake Time | 8–10 minutes | — |
| Total Time | About 35 minutes | — |
| Calories | 1,680 kcal | 210 kcal |
| Protein | 108 g | 13.5 g |
| Fat | 132 g | 16.5 g |
| Carbs | 8 g | 1 g |
Macros are estimated from standard values for mozzarella, cream cheese, and egg, for the crust alone; toppings will add to these totals.
Pizza Decision Box
✔ Choose this recipe if you:
- Want a true zero-carb pizza crust.
- Miss traditional pizza on the carnivore diet.
- Need a sturdy crust that holds real toppings.
- Prefer a quick dough with no kneading or proofing.
✘ This recipe may not be for you if you:
- Want an airy, bread-like crust.
- Prefer a mild cheese flavor.
- Are looking for a traditional yeast pizza experience.
Why You’ll Love This Recipe
What surprised me most during testing wasn’t that this dough worked — it’s that it genuinely tastes and behaves like pizza, not like a cheese-and-egg bake pretending to be pizza. The crust browns at the edges, holds its shape under real toppings, and gives you that specific chew people actually crave on pizza night.
It’s also a dough that scales to your mood. Spread thin, it crisps up close to a New York-style slice. Left a little thicker, it eats more like a pan pizza with a substantial bite. Either way, it comes together in one bowl with almost no specialized technique — melt, mix, spread, pre-bake.
Why This Pizza Dough Is Different
Traditional pizza dough builds its chew and stretch from gluten — the elastic protein network formed when wheat flour is hydrated and kneaded, then given time to relax and ferment. Carnivore pizza dough has none of that. Its structure comes from two completely different sources instead: the stretchy melt of mozzarella, and the firm set of egg protein once it hits oven heat.
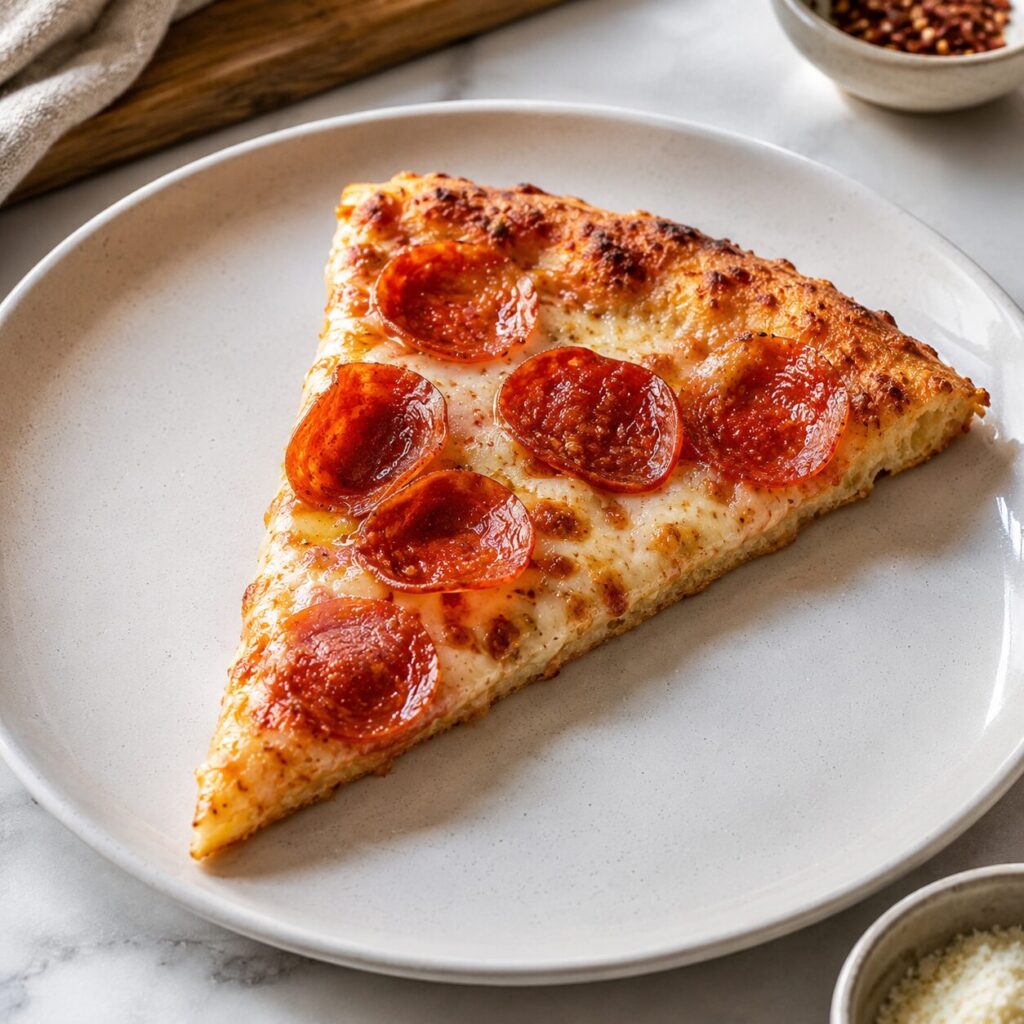
That difference changes the whole workflow. There’s no kneading, no proofing, no resting time built around yeast activity. What you’re managing instead is moisture and heat — specifically, getting enough water out of the dough during the pre-bake that it can hold toppings without turning soggy underneath them. Skip that step, or rush it, and you end up with a crust that looks finished on top and collapses the moment you add sauce.
Unlike Carnivore Bread, which relies on whipped eggs for structure, this pizza dough gets its strength from melted cheese and egg proteins working together during baking.
Is This Recipe Right for You?
Perfect if you want a genuine hand-holdable pizza crust without flour, and you’re willing to pre-bake the crust fully before adding toppings — that one extra step is what makes the difference between this working and not.
Skip if you’re looking for a crust with the same light, airy chew as a wheat-based dough — this crust is denser and more cheese-forward by nature, and no amount of technique changes that underlying character.
Choose thin crust if you want maximum crispiness and a foldable, New York-style slice.
Choose thick crust if you want a heartier, more substantial bite that holds up to a heavier pile of toppings.
Ingredients Explained
- 2 cups (about 220 g) shredded mozzarella
- 2 oz full-fat cream cheese, softened
- 1 large egg
- 1/4 cup (about 25 g) grated Parmesan (optional, but recommended for crispness)
- 1/4 tsp garlic powder (optional)
- Pinch of salt
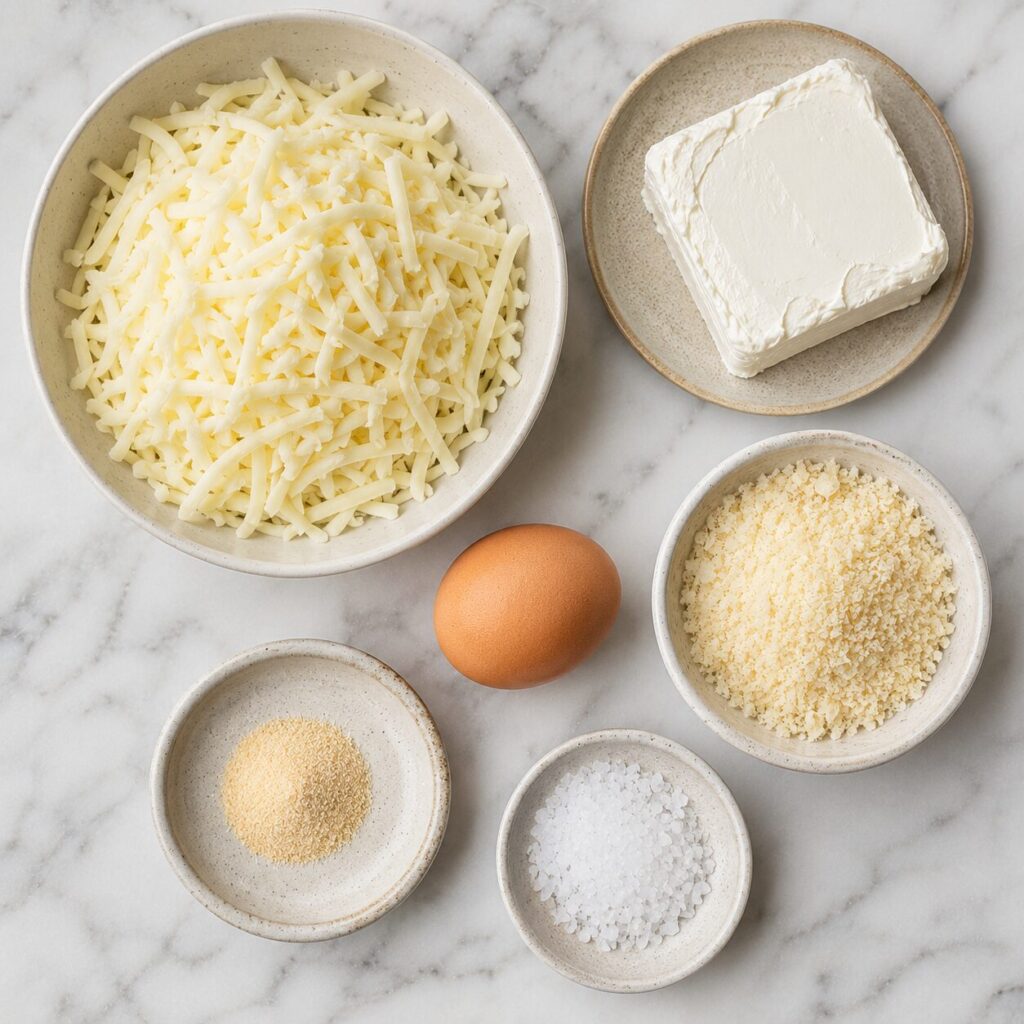
Mozzarella is the primary structural ingredient here. When melted, its proteins stretch and bind rather than staying rigid, which is what gives this dough its pliable, workable texture before baking, and its characteristic chew once it’s set.
Cream cheese softens the overall texture and adds moisture that helps the mixture bind into a cohesive dough rather than a stiff, rubbery cheese mass.
Egg is what actually sets the crust into something firm enough to hold toppings and be picked up by hand. Without it, this dough would stay soft and cheese-like no matter how long you baked it — egg protein is doing the structural locking-in work that gluten would normally do in a traditional dough.
Parmesan, if used, adds a drier, saltier component to the mix that helps the crust crisp at the edges more effectively than an all-mozzarella version.
Ingredient Science: Why These Ingredients Work Together
The real issue with a cheese-only “dough” — no egg at all — is that it never fully transitions from soft and pliable to firm and structural. Understanding why egg makes that difference is the key to understanding everything else about this dough’s behavior.
As the mixture heats, egg proteins unfold — a reaction called denaturation — and then link together into a fixed, three-dimensional network, known as coagulation. That network is what locks the shape of the crust in place permanently, the same way it locks the structure of a baked custard or a set omelet. According to the American Egg Board’s research on egg functionality in food formulation, egg white protein coagulates between about 144°F and 149°F, while whole egg protein sets across a slightly wider range of roughly 144°F to 158°F — which is genuinely useful to know here, since it means the egg in this dough is fully set well before the mozzarella and Parmesan finish browning at the surface, so the crust’s structural work is essentially complete by the time visual doneness cues show up.
Mozzarella contributes something entirely different: elasticity. Its specific protein and moisture composition let it stretch into long strands when melted rather than staying rigid, which is why this dough behaves more like a workable mass than a paste when it’s still warm. That stretch fades as the mixture cools and the egg proteins finish setting around it, which is why this dough needs to be shaped while it’s still warm rather than after it’s rested.
Dough Consistency Guide
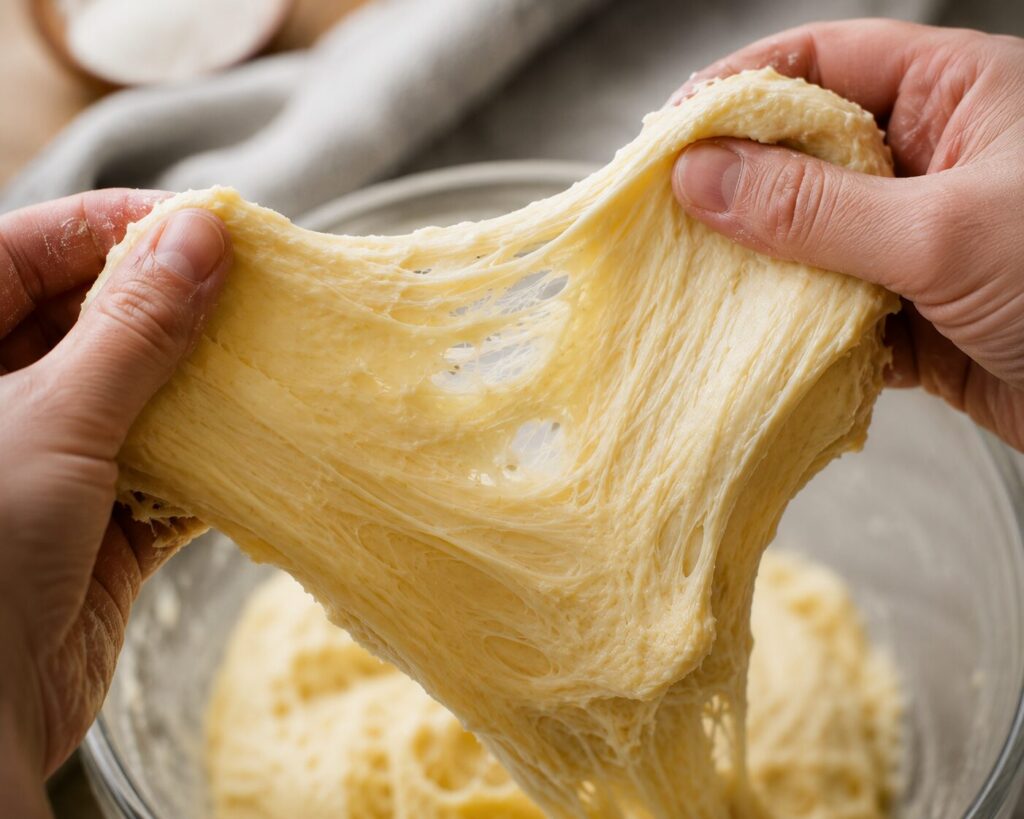
Before baking, your dough should feel warm, smooth, and slightly stretchy.
| Dough Appearance | What It Means | What To Do |
|---|---|---|
| Smooth and elastic | Perfect | Continue shaping |
| Sticky | Normal while warm | Lightly oil your hands |
| Dry and crumbly | Too much Parmesan | Add a little more mozzarella |
| Oily | Cheese overheated | Stir until the fat is reabsorbed |
| Firm and difficult to spread | Dough cooled too much | Warm it briefly before shaping |
Why Eggs Bind the Dough
Why this happens: egg proteins are naturally strong binders because they don’t just set on their own — they form connections with the proteins around them, effectively gluing the cheese components together into one cohesive mass rather than a loose, separate mixture.
In practical terms, this means the egg-to-cheese ratio in this recipe isn’t arbitrary. Too little egg, and the dough stays loose and won’t hold its shape once you try to lift a baked slice. Too much, and the crust turns more like a firm omelet with cheese mixed in than a pizza crust — noticeably eggier in flavor and less pleasant in texture.
Equipment
- A microwave-safe bowl (or a saucepan, if melting on the stovetop)
- A baking sheet or pizza stone
- Parchment paper
- A rolling pin or your hands, for shaping
Before You Start Checklist
- Mozzarella and cream cheese measured and ready
- Egg at room temperature for the smoothest blend
- Parchment paper cut to fit your baking sheet or stone
- Oven fully preheated before the pre-bake begins
- Toppings prepped in advance, since the topped bake time is short
Step-by-Step Instructions
- Preheat the oven to 425°F (218°C) and line a baking sheet with parchment paper.
- Melt the mozzarella and cream cheese together in a microwave-safe bowl, in 30-second bursts, stirring between each, until fully smooth and stretchy.
- Quickly whisk the egg, Parmesan (if using), garlic powder, and salt into the warm cheese mixture until fully combined into a cohesive dough.
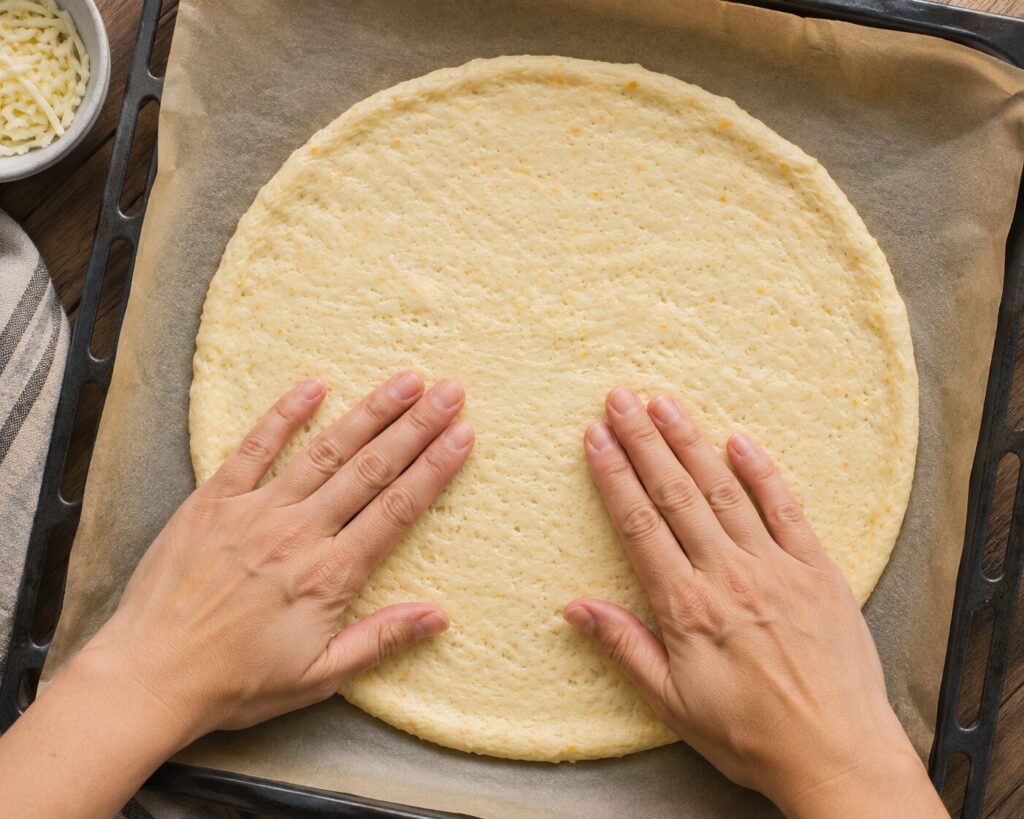
- Transfer the dough onto the lined baking sheet. Press or roll it into your desired shape and thickness, working from the center outward.
- Pre-bake for 12–15 minutes, until the surface is fully set and lightly golden, with no wet or shiny patches remaining.
- Remove from the oven, add your sauce and toppings, and return to the oven for 8–10 minutes, until the toppings are heated through and any cheese on top has melted.
- Let the pizza rest for 3–5 minutes before slicing.
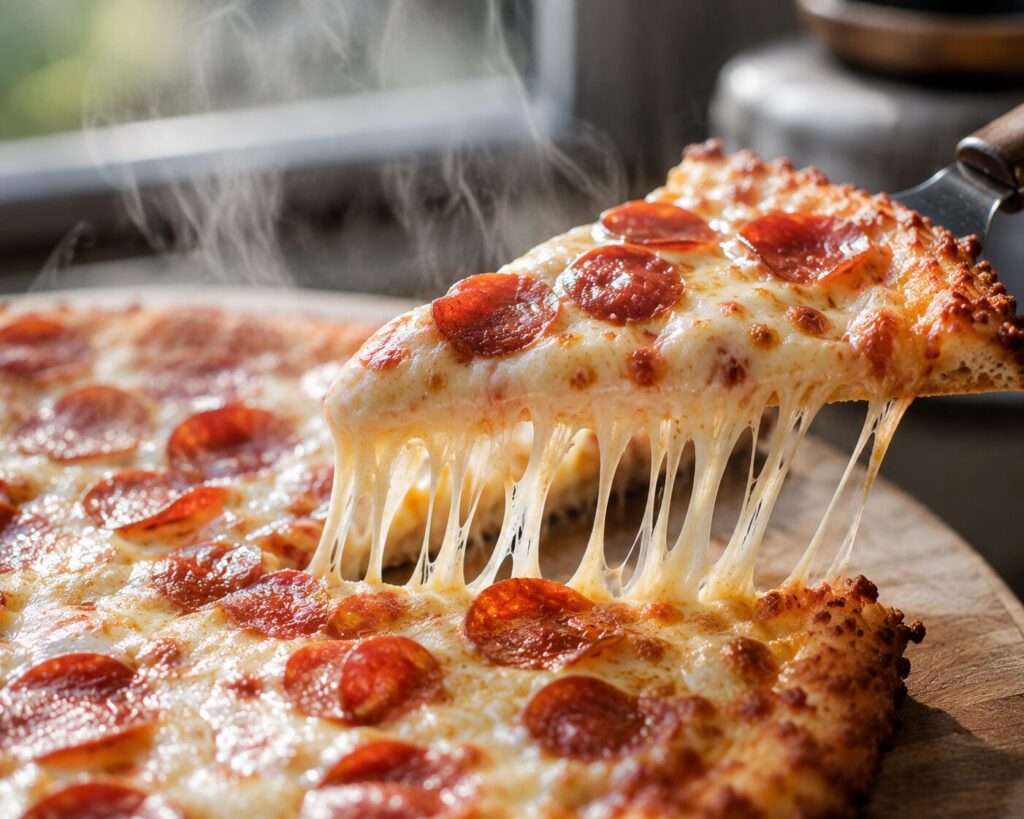
How to Get the Best Cheese Pull
The iconic cheese pull starts with the right cheese and ends with proper baking.
For the longest, stretchiest cheese pull:
- Use low-moisture whole milk mozzarella.
- Grate the cheese yourself instead of using pre-shredded varieties.
- Avoid overbaking after adding toppings.
- Let the pizza rest for 2–3 minutes before lifting a slice.
These simple adjustments create a much stretchier texture than fresh mozzarella alone.
Mozzarella vs Parmesan
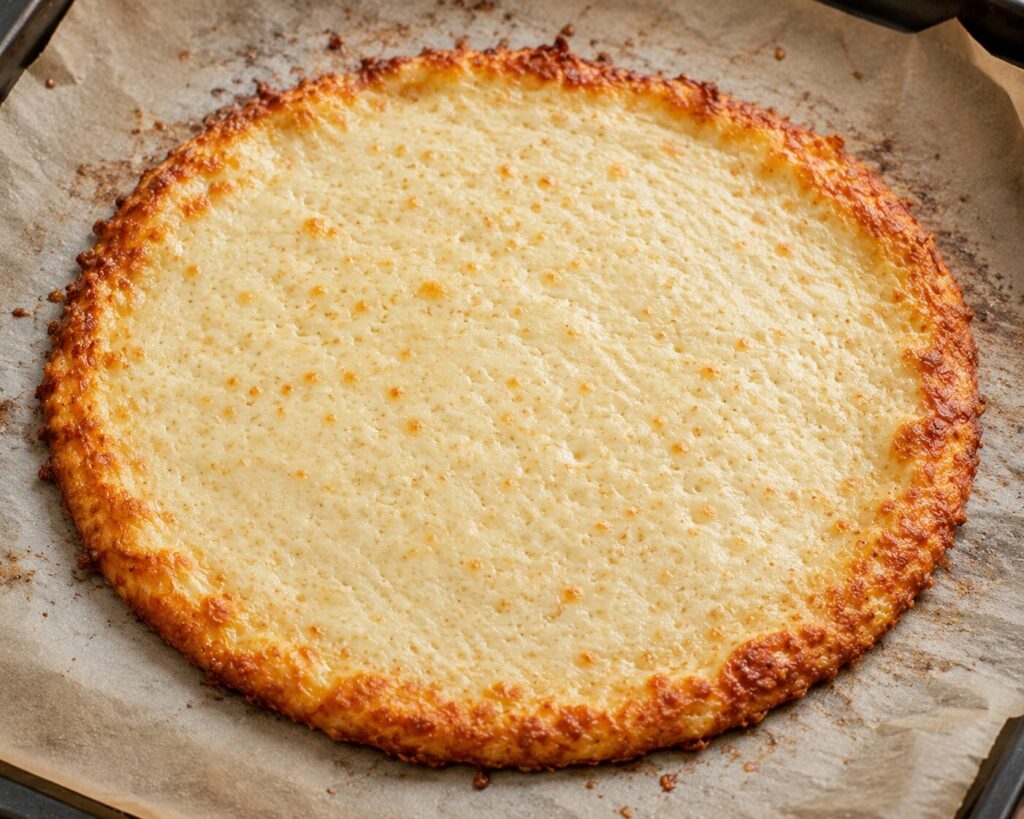
✓ Surface looks completely matte.
✓ Center feels firm.
✓ No glossy cheese remains.
✓ Edges are lightly golden.
✓ Sauce and toppings are ready.
Visual Texture Cues
A properly pre-baked crust will look matte and set across the entire surface, with a light golden color at the edges specifically. If any part still looks glossy or wet, it needs more time — that’s moisture that hasn’t finished cooking off, and it’s exactly what causes a soggy center once toppings go on.
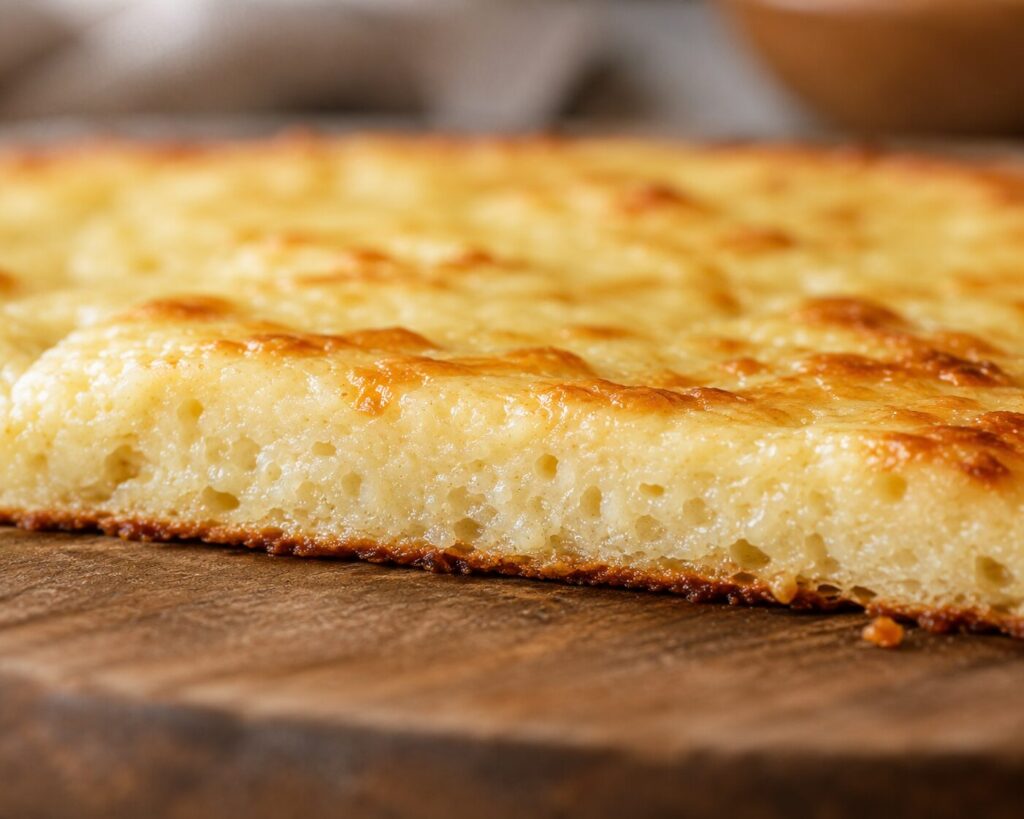
What the Perfect Crust Looks Like Inside
Slice into the crust after it has rested for a few minutes.
A properly baked carnivore pizza crust should have:
- A lightly golden bottom.
- A fully cooked center with no wet cheese pockets.
- Small air bubbles throughout the interior.
- Enough flexibility to bend slightly without breaking.
If the middle still looks glossy or overly soft, bake the crust for another 2–3 minutes before adding toppings.
Kitchen Observation
The first batch taught me the most important lesson in this entire recipe: I pulled the crust for toppings the moment the edges looked golden, without checking the center closely enough. Once I added sauce and cheese and baked it again, the middle of the crust stayed soft and slightly wet underneath, even though the top layer of cheese had melted and browned just fine. What I hadn’t accounted for was that a thicker center takes noticeably longer to fully set than the thinner edges do. After multiple tests, checking the very center of the crust for that same matte, set appearance — not just the edges — became the one habit that fixed the soggy-center problem completely.
Pro Baker Tips
- Shape the dough while it’s still warm from melting — it firms up and becomes harder to work with as it cools.
- Press the dough slightly thinner in the center than at the edges, since the center naturally takes longer to set and benefits from a head start.
- If you’re adding wet toppings like fresh tomatoes, pat them dry first — excess surface moisture on toppings is one of the most common causes of a soggy crust even after a proper pre-bake.
LooksYumy Tip: If you’re unsure whether the crust is ready, lift one edge gently with a spatula. A properly pre-baked crust should release easily from the parchment and feel firm enough to support itself.
Common Mistakes
- Skipping or rushing the pre-bake. This is the single most common cause of a soggy, floppy crust that won’t hold together when picked up.
- Adding sauce too early. Sauce added before the pre-bake finishes traps moisture directly against a crust that hasn’t set yet.
- Overloading with toppings. Too much weight, especially from wet or heavy toppings, can cause even a properly baked crust to sag or tear when lifted.
- Slicing immediately. A few minutes of resting lets the structure firm up slightly, making for cleaner slices.
Troubleshooting Guide
| Problem | Cause | Fix |
|---|---|---|
| Soggy center | Pre-bake was rushed, or the center wasn’t fully set before toppings were added | Extend pre-bake time; check the center specifically, not just the edges |
| Crust sticks to the pan | Removed too soon, or no parchment used | Always use parchment; let the crust cool slightly before lifting |
| Crust won’t hold together when picked up | Not enough egg relative to cheese, or dough shaped too thin overall | Confirm the egg-to-cheese ratio; avoid shaping thinner than about 1/4 inch |
| Burnt edges, underdone center | Oven too hot, or crust shaped unevenly | Bake at 425°F (218°C); shape the dough to an even thickness throughout |
| Crust tastes too eggy | Egg-to-cheese ratio skewed too far toward egg | Reduce egg slightly, or increase cheese proportionally |
| Toppings slide off when sliced | Toppings added while the crust was still too hot and soft | Let the pre-baked crust cool for a minute or two before adding toppings |
Crust Thickness Guide
Thin Crust vs. Thick Crust
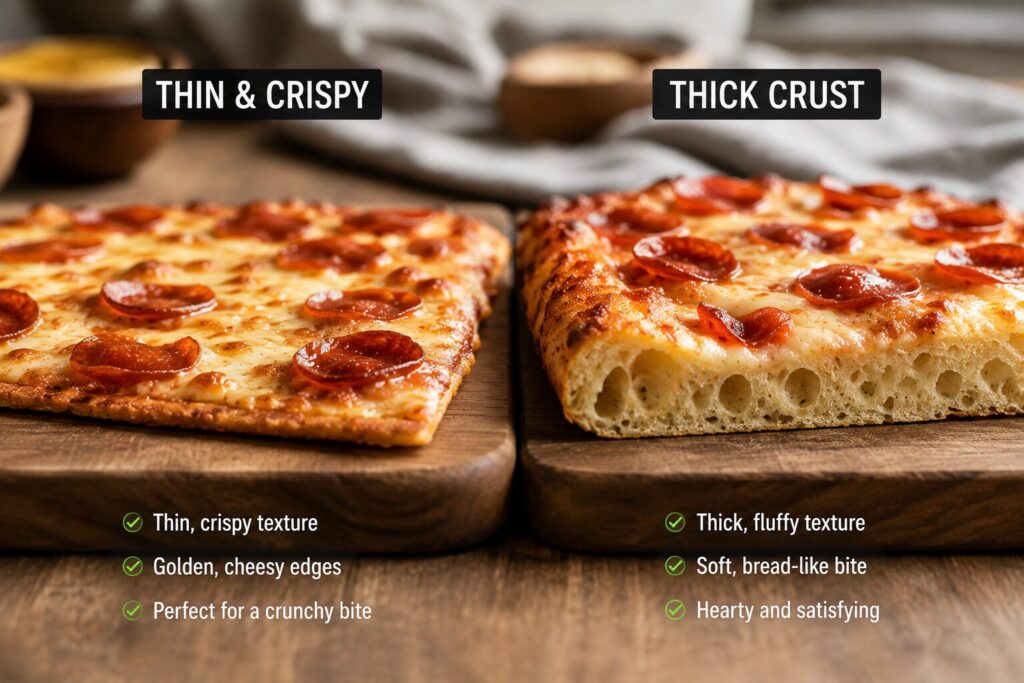
| Thin Crust | Thick Crust | |
|---|---|---|
| Best for | Crispy, foldable slices | Heartier, more substantial bite |
| Pre-bake time | 10–12 minutes | 15–18 minutes |
| Topping capacity | Lighter toppings recommended | Can handle a heavier topping load |
| Risk if rushed | Burns before center sets | Soggy center if pre-bake is cut short |
How to Get Crispy Edges
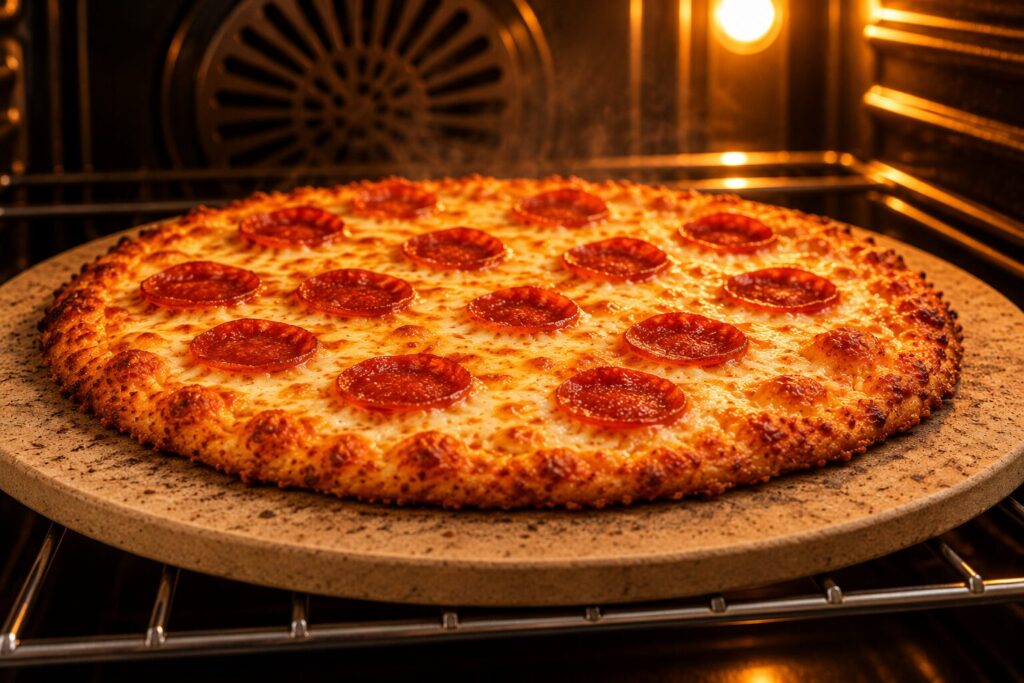
The primary factor behind crispy edges is direct, unobstructed heat contact combined with a lower moisture content at the crust’s perimeter, which naturally has less mass than the center and dries out faster during baking. Baking on a preheated pizza stone or the bottom rack of the oven intensifies that direct heat contact, giving you a noticeably crispier edge than a middle-rack bake on a regular sheet.
How to Prevent a Soggy Center
A soggy center almost always traces back to one of two causes: an incomplete pre-bake, or toppings that release too much liquid during the second bake. Confirm the center looks fully matte and set before adding anything on top, and pat down any wet toppings, like fresh tomato slices or thawed frozen vegetables, before they go on the crust.
Can You Pick It Up Like Regular Pizza?
Yes, when the crust is prepared correctly — a fully pre-baked crust with a balanced egg-to-cheese ratio holds its shape well enough to eat by hand, without folding weakly or dropping toppings. A crust that wasn’t fully pre-baked, or one that’s overloaded with heavy toppings, is far more likely to bend and fail when you try to pick up a slice.
Best Cheese for Carnivore Pizza
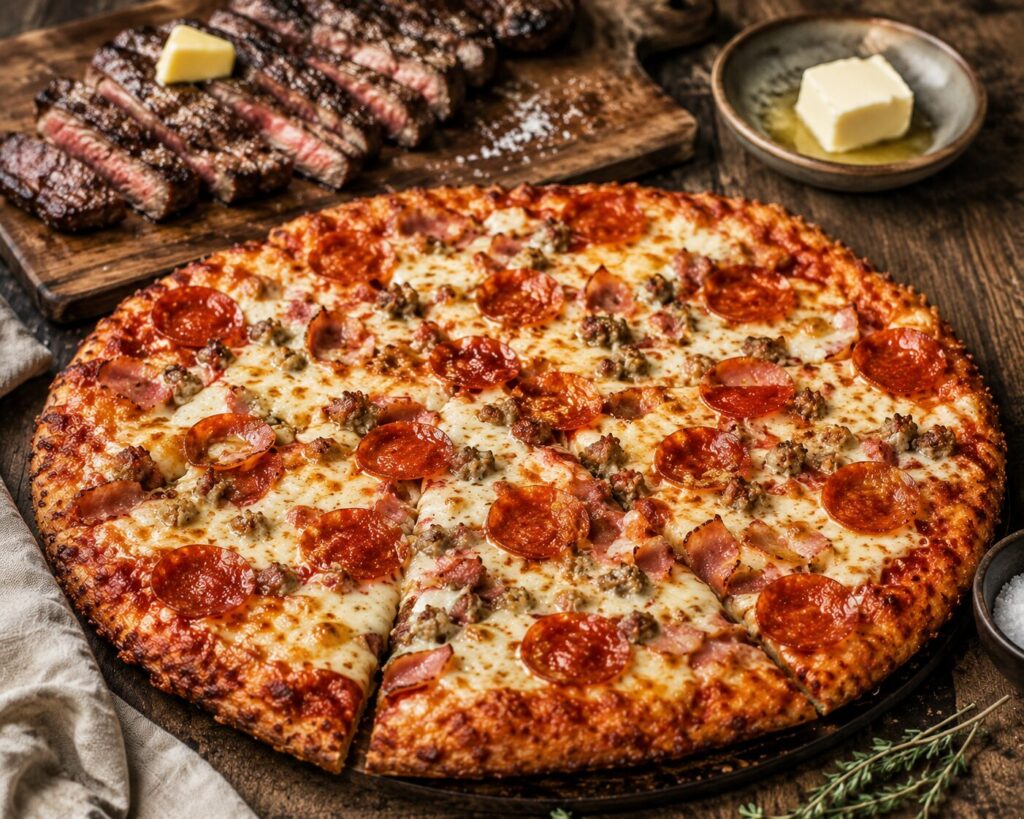
Mozzarella remains the most reliable base cheese, thanks to its stretchy melt. For topping the finished pizza, a blend of mozzarella and a small amount of sharp provolone or Parmesan adds more flavor complexity than mozzarella alone, without sacrificing that classic pizza cheese-pull.
Mozzarella vs. Parmesan
| Mozzarella | Parmesan | |
|---|---|---|
| Melt behavior | Stretchy, elastic | Doesn’t stretch; melts into a drier, crisp texture |
| Best role | Primary structural and topping cheese | Mixed into the dough or sprinkled for crisp, salty edges |
| Flavor | Mild | Sharp, salty, more concentrated |
The same combination of mozzarella and Parmesan is also one of the secrets behind my 3 Ingredient Carnivore Burger Buns, where it helps create a firmer, more bread-like texture.
Best Meat Toppings
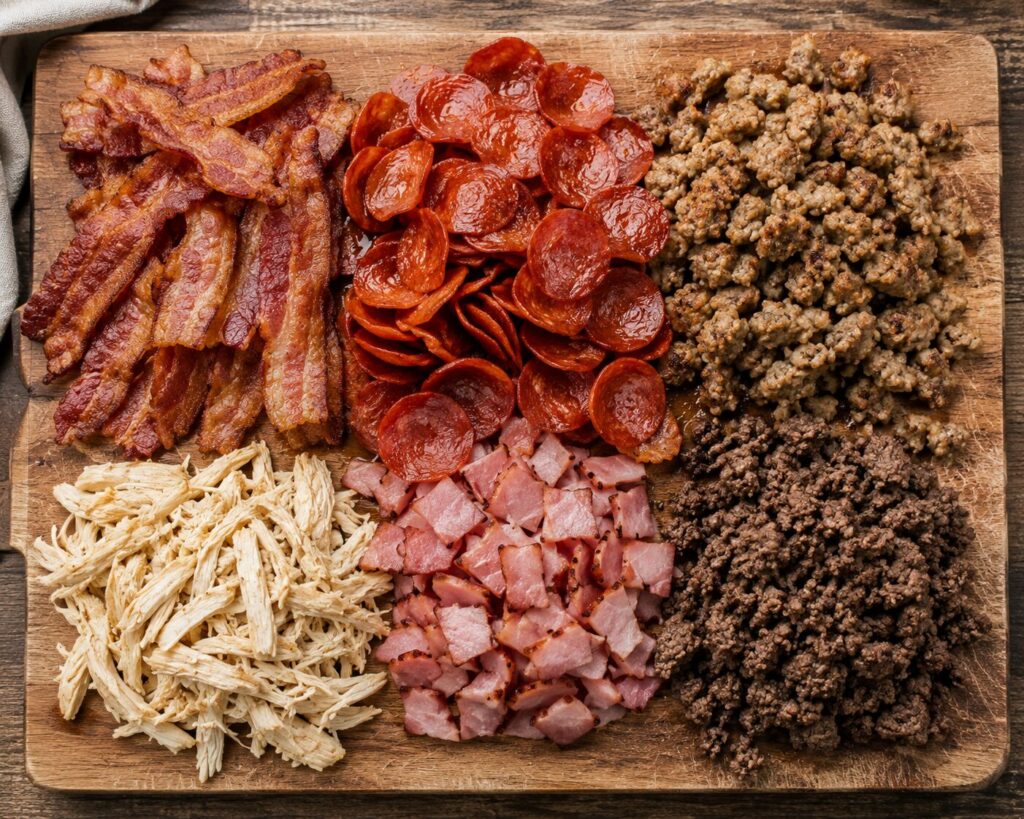
Thin-sliced pepperoni, cooked and crumbled Italian sausage, and diced ham all work well without releasing excessive moisture during the second bake. For toppings like ground beef or bacon, cook them fully and drain any excess fat or liquid before adding them to the pizza, since extra moisture at this stage is one of the more overlooked causes of a soggy final result.
When Toppings Become Too Heavy
Here’s a small detail most people miss: this crust, while sturdy, still has a practical weight limit. Piling on multiple types of meat, extra cheese, and sauce all at once can overwhelm even a properly pre-baked crust, causing it to sag in the center when lifted. If you want a heavily loaded pizza, lean toward the thicker crust option and bake it slightly longer in the pre-bake stage to build in extra structural margin.
Cooking Times for Different Thicknesses
| Thickness | Pre-Bake Time | Topped Bake Time |
|---|---|---|
| Thin (about 1/8 inch) | 10–12 minutes | 6–8 minutes |
| Medium (about 1/4 inch) | 12–15 minutes | 8–10 minutes |
| Thick (about 3/8 inch) | 15–18 minutes | 10–12 minutes |
Which Thickness Should You Choose?
| Thickness | Best For |
|---|---|
| Thin | Crispy slices and lighter toppings |
| Medium | Everyday family pizza |
| Thick | Heavy meat toppings and deep-dish style |
Pan Pizza vs. Pizza Stone
| Baking Sheet / Pan | Pizza Stone | |
|---|---|---|
| Heat distribution | Even, moderate | More intense, direct bottom heat |
| Crispiness | Good | Noticeably crispier crust |
| Ease of use | Simple, no preheating the stone required | Requires preheating the stone along with the oven |
| Best for | Convenience, everyday use | Maximum crispness, closer to a restaurant-style crust |
Air Fryer Instructions
An air fryer works well for single-serving carnivore pizzas. Shape a smaller portion of dough to fit your air fryer basket, pre-bake at 375°F (190°C) for about 8–10 minutes, add toppings, and cook for an additional 4–5 minutes, watching closely since air fryers vary significantly in how they circulate heat.
Air Fryer vs. Oven
| Air Fryer | Oven | |
|---|---|---|
| Best for | Single servings, quick cooking | Full-size pizzas, more consistent results across a larger crust |
| Crispiness | Very good for smaller portions | Best with a stone or bottom-rack placement |
| Batch size | Limited by basket size | Scales easily to a full pizza |
Storage
Store leftover pizza in an airtight container in the refrigerator for up to 3 days. The crust holds its structure well cold, though it firms up noticeably compared to fresh out of the oven.
Freezing
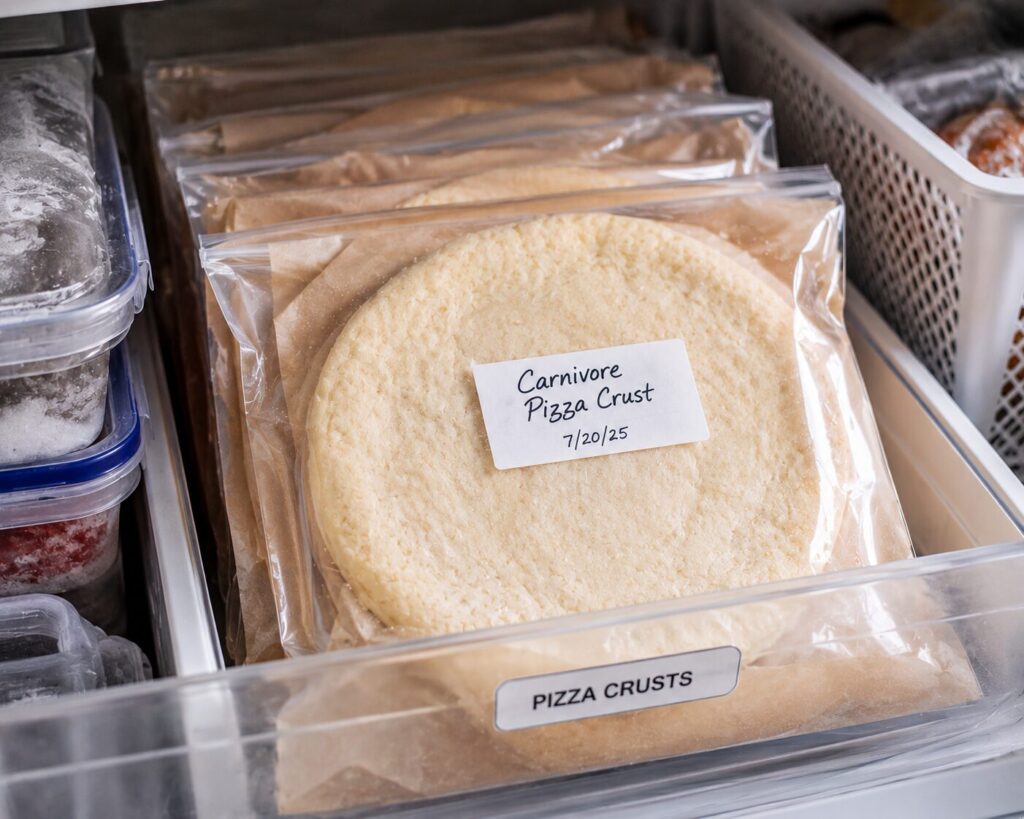
Freeze the pre-baked, untopped crust for the most flexibility later — wrap it tightly and freeze for up to 2 months, then thaw and add toppings before the final bake whenever you’re ready. Fully assembled, baked pizza can also be frozen in slices, though the crust’s texture holds up slightly better when frozen before toppings are added.
Fresh vs. Frozen
| Fresh | Frozen | |
|---|---|---|
| Best format to freeze | Pre-baked, untopped crust | Fully assembled slices, if convenience matters more than optimal texture |
| Texture after thawing | Not applicable | Slightly firmer; reheating in the oven helps restore crispness |
| Best use | Same-day or next-day meals | Meal prep, batch cooking crusts in advance |
Pre-Bake vs. No Pre-Bake
| Pre-Bake | No Pre-Bake | |
|---|---|---|
| Structural integrity | Strong, holds toppings well | Weak, prone to sogginess |
| Recommended | Always | Not recommended for this dough |
Meal Prep
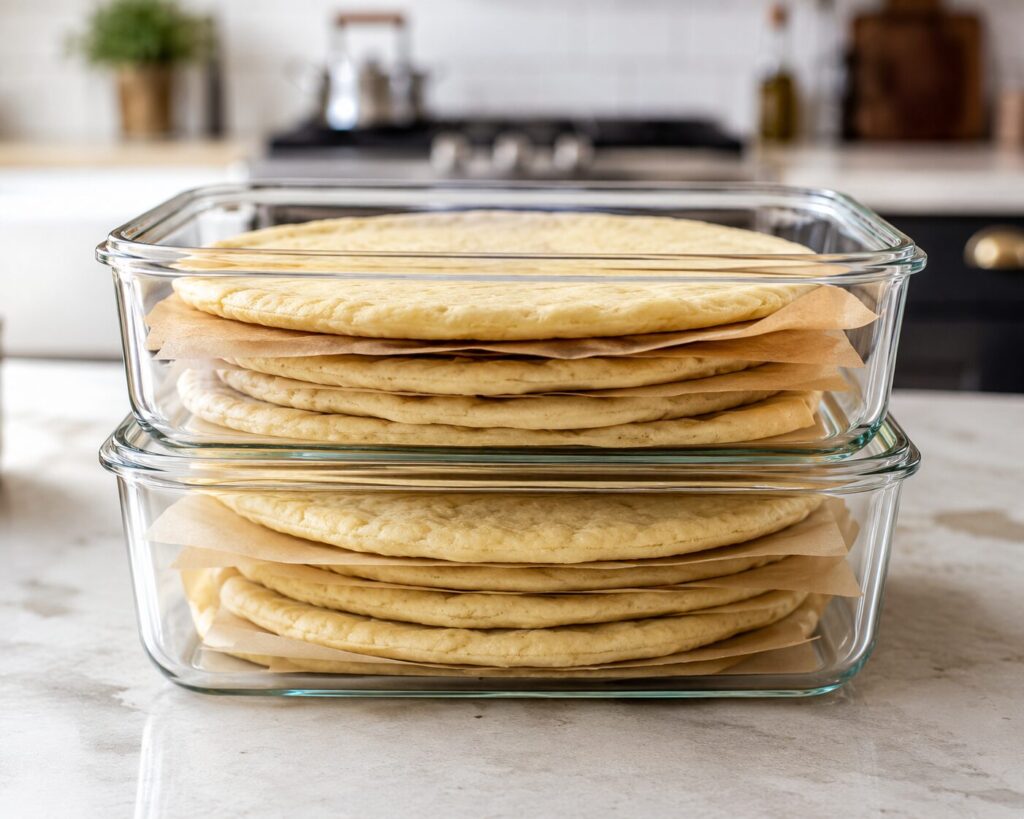
Pre-bake several crusts in a single session, cool them completely, and stack them with parchment between each layer before refrigerating or freezing. This turns pizza night into an assembly job — top and finish-bake a pre-made crust in under 10 minutes, without repeating the melting-and-mixing step each time.
Recipe Variations
- Extra-crispy version: Increase the Parmesan slightly and reduce cream cheese by half, for a drier, crispier crust.
- Herb crust: Add 1 tsp of dried Italian herbs to the dough before pre-baking.
- Deep-dish style: Shape the dough thicker and press it up the sides of a round pan for a deep-dish-style crust with a longer pre-bake.
- Individual pizzas: Divide the dough into 4 smaller portions for personal-sized pizzas with shorter pre-bake and topped-bake times.
Regular Pizza vs. Carnivore Pizza
| Regular Pizza | Carnivore Pizza | |
|---|---|---|
| Crust structure | Gluten network from wheat flour | Melted cheese and egg protein |
| Carbs per slice | 30–35 g typical | Around 1 g |
| Texture | Light, airy chew | Denser, more cheese-forward bite |
| Prep time | Longer, due to proofing | Shorter, no proofing required |
FAQ
Can I skip the pre-bake step? It’s not recommended — the pre-bake is what fully sets the egg protein and drives off enough moisture to support toppings without turning soggy. Skipping it is the most common reason this dough fails.
Why is my crust falling apart when I pick up a slice? This usually means either the egg-to-cheese ratio was off, or the crust was shaped too thin to support its own weight once toppings were added. Confirm your ratios and avoid shaping thinner than about 1/4 inch.
Can I make this ahead of time? Yes — the pre-baked, untopped crust stores and freezes well, making it one of the easiest components of this recipe to prep in advance.
Why does my crust taste eggy? This points to too much egg relative to cheese. Slightly reducing the egg, or increasing the cheese proportionally, softens the egg flavor without compromising structure.
What’s the best internal temperature to check for doneness? Government food safety guidance on egg-based dishes recommends cooking them to an internal temperature of 160°F, and egg-containing bakes like this one should reach that same benchmark to be considered fully cooked — a properly pre-baked crust, matte and set with lightly golden edges, comfortably clears that mark well before it looks visually finished.
Can I use this dough for a calzone instead of a flat pizza? Yes — shape it into a round while still warm, add fillings to one half, fold over, and seal the edge by pressing firmly before baking. Expect a slightly longer bake time to fully set the folded, thicker structure.
Why did my toppings slide off when I sliced the pizza? This usually happens when toppings are added to a crust that’s still too hot and soft from the pre-bake. Let it cool for a minute or two before topping, and let the finished pizza rest a few minutes before slicing.
Can I make this in an air fryer only, with no oven at all? Yes — shape a smaller, single-serving portion to fit your basket and follow the air fryer instructions above; it’s a genuinely convenient option if you don’t want to heat a full oven for one serving.
Final Thoughts
Two habits separate a consistently good carnivore pizza from an inconsistent one: fully pre-baking the crust before adding anything on top, and checking the center — not just the edges — for that matte, fully-set appearance before moving on. Get those two details right, and the rest of this guide — cheese choice, thickness, toppings — becomes a matter of preference rather than troubleshooting. Once you’ve made a batch or two, you’ll be able to read your crust well enough to know exactly when it’s ready, no recipe required.